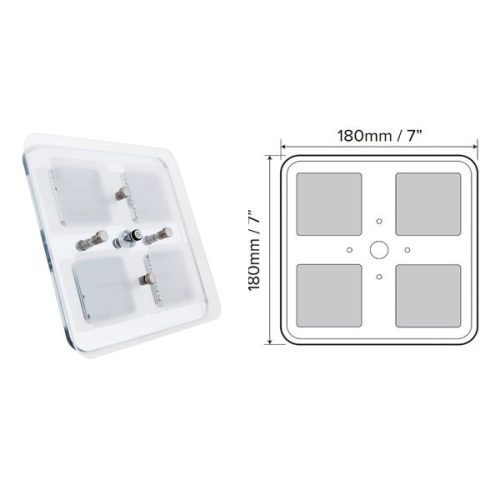
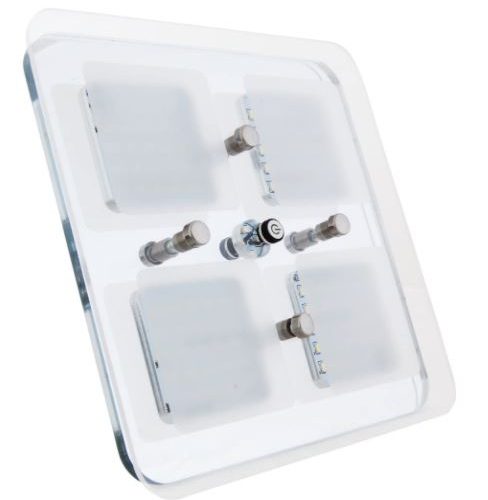
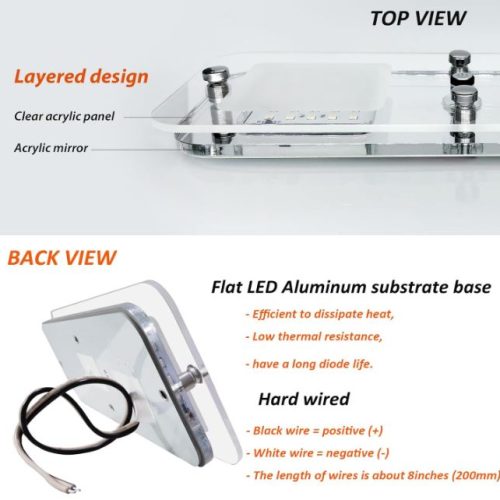
- Design with both illuminative and decorative purpose
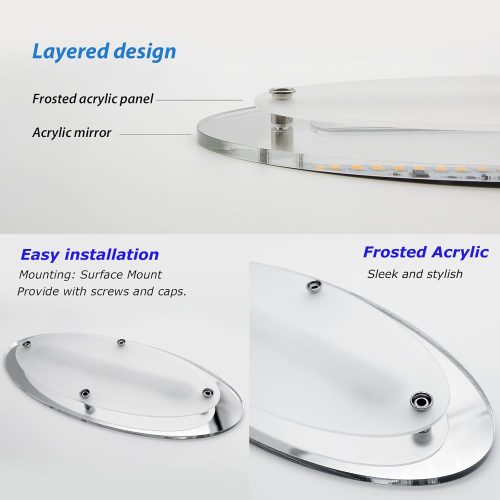
- Clear PMMA lens with frosted part to optimize the beam
- Blue mode light for night application
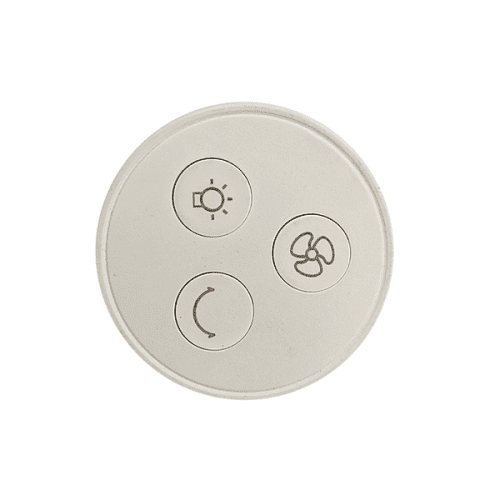
- Three levels of brightness setting
- Highly polished screw caps and switch
- Memory function for convenient control
- Efficient heat dissipation for stable performance
- 10-15 volts DC
-

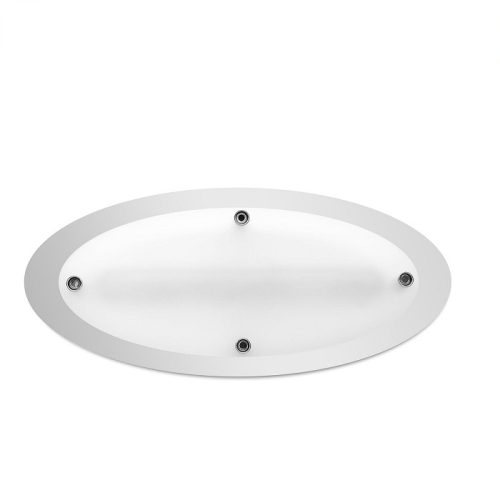
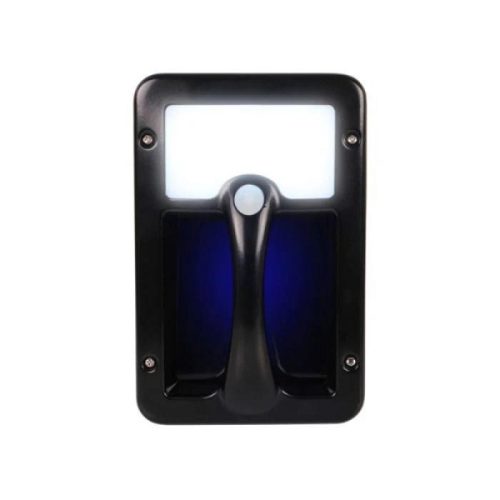
 LED Square Crystal Section light with the push-button operation. Stylish polished metalised reflector for a consistent and exceptional interior providing optimum illumination. Operating on 12-volt power, it is the perfect ceiling light for any caravan or motorhome. Features:
 -

 LED Square Crystal Section light with the push-button operation. Stylish polished metalised reflector for a consistent and exceptional interior providing optimum illumination. Operating on 12-volt power, it is the perfect ceiling light for any caravan or motorhome. Features:
- Design with both illuminative and decorative purpose
- Clear PMMA lens with frosted part to optimize the beam
- Blue mode light for night application
- Three levels of brightness setting
- Highly polished screw caps and switch
- Memory function for convenient control
- Efficient heat dissipation for stable performance
- 10-15 volts DC
-

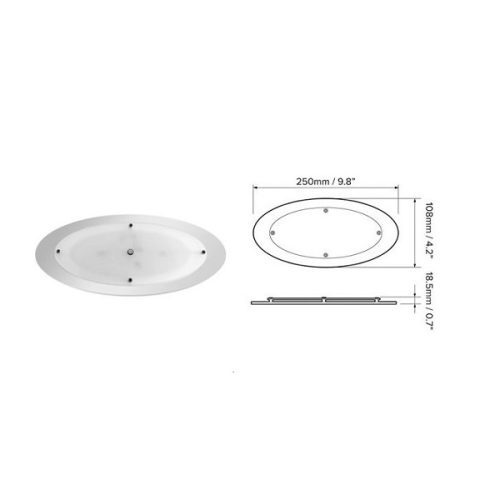
 24 super bright SMD chip LEDs • Lighting color: Cool White/blue • Operating voltage: 12V DC • Low power consumption: 4.8W, 400mA • Luminous flux: 330lumens • Light angle: 120 degrees • 120 degrees flat angle light illumination provides additional ambient light • Provides even and soft light distribution without glaring • Inbuilt switch can easily turn on/off the light • Two-phased switch to adjust the light between blue lighting and cool white lighting to meet your different demand. • Memory function means if it is turned off when the blue setting is on, then it will come back with the same setting when it is turned on again. • Surface screw mounting design, caps provided to cover the screws which will leave a clean finish after installation • Long life span reaches 50,000 hours • Easy installation, surface mounted • Weight: 160g • Dimension: 250X108X18.5mm
 -


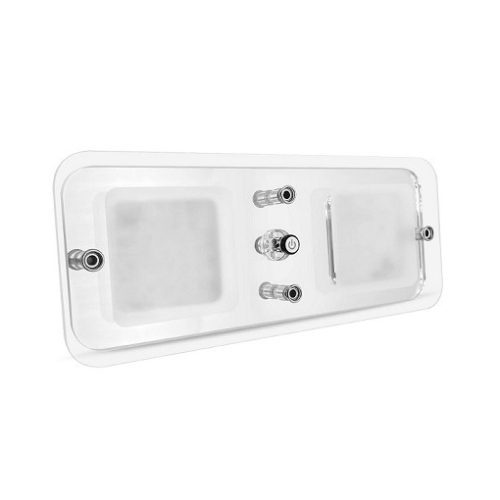
Operating voltage: 12V DC • Lighting color: Cool White and Blue • Luminous flux: 550/1100 lumens • Low power consumption: 7.4/14.8W, 0.58/1.16A • Convenience for on/off • 120 degrees flat angle light illumination provides additional ambient light • Provides even and soft light distribution without glaring • Surface screw mounting design, caps provided to cover the screws which will leave a clean finish after installation • Long life span reaches 50,000 hours • Easy installation, surface mounted • Weight: 250g • Dimension: 400X190X18.5mm
-

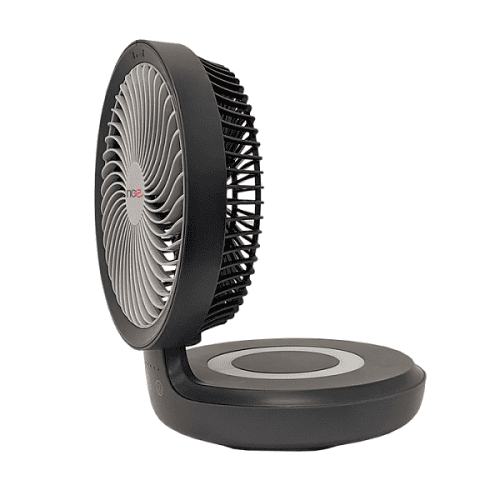
 NCE 12 Volt Oscillating fan with the compact modern design and 4-speed setting allows you to keep yourself at desired comfort levels while you’re traveling. The innovative built-in LED light and the remote control give you the freedom to use the fan while being anywhere in your caravan or motorhome. Featuring both black and white in color, removable grill and brush-less motor, the NCE 12 Volt Oscillating fan can be the perfect fit for your caravan or motor home. Features
- Compact modern design
- Colour: Black
- 120° Auto oscillating swing
- 90° manual fold
- LED night light
- Soft-touch buttons
- Child lock
- 4 Speed settings
- Remote control
- Child safe grill
- Removable/washable grill
- Wall mount plate
- Brush-less motor
- Dimensions (WxHxD): 190 x 190 x 96 mm
- Weight: 760g
- Input power: 12 Volt
- Power Draw: > fan speed 1: 0.11a > fan speed 2: 0.13a > fan speed 3: 0.33a > fan speed 4: 0.46a
- Max speed and Oscillating: 0.47a
- Max speed, Oscillating, and light: 0.49a
- Fan Speed (RPM): 1300/1400/2000/2200
- Fan blade: 6 inches
-

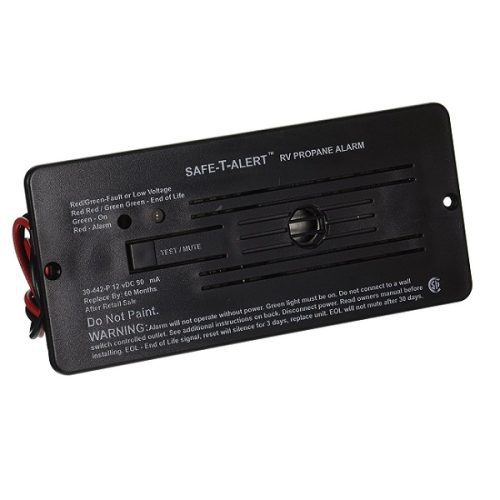
- Prioritize your safety with the Safe-T-Alert Propane Gas Detector – 12v DC 30-442P in black.
- Designed impeccably for the RV environment, this detector is a must-have for RVs, motorhomes, and caravans.
- Its advanced technology, including an Alarm Mute button, guarantees prompt detection and alert in case of LPG presence.
- Powered by 12 volts, forget the hassle of batteries.
- The maintenance-free built-in sensor promises a long life and self-cleaning features.
- With its loud 85 dB alarm, always stay a step ahead in ensuring safety.
- Its sleek dimensions fit perfectly, making it an ideal replacement for most CCI Controls LP Gas Leak Detectors.
- Needs to be replaced every 5 years.

-

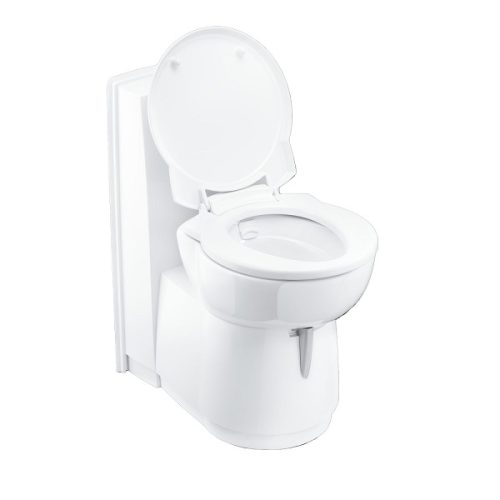
 The Thetford C263CS Ceramic Swivel Cassette Toilet is a revolutionary bathroom essential that blends convenience and elegance. With its full ceramic bowl and electric flush level indicator, this top-quality toilet offers a domestic look and feel. The LED level indicator provides accurate monitoring, while the long-term reliability and easy maintenance guarantees your peace of mind. The C263CS also boasts the same installation footprint as its predecessor, the C223CS, making it a seamless upgrade option.
- Full Ceramic bowl – electric flush level indicator
- LED level indicator
- Domestic look and feel
- Long term reliability and easy maintenance
- Same installation footprint as C223CS
- Item number: C263-CS
- Dimensions (H x W x D): 750 x 417 x 600mm
- Seating Height: 479mm
- Colour: White
- Bowl: Ceramic
- Net Weight: 32.2kg
- Flushing System: Electric Pump
- Waste Holding Tank Capacity: 17.5L
-

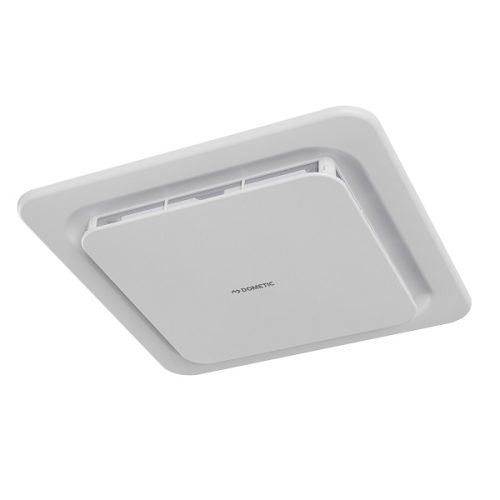
 Through its smart design, the Dometic Dust Reduction System 2.0 (DRS2) minimises the amount of dust, harmful airborne particles and pollens that can enter your caravan and remain suspended in the air for an extended time after stopping. Building upon the extensive performance testing in Australia’s dusty country, the second-generation DRS has been further fine-tuned and optimised to achieve improved waterproofing and airflow, all designed to cut down the dust so there is less cleaning when you arrive. The unit is fitted to the roof of the caravan and operates while the vehicle is in motion. Best of all there are no motors or electrical parts so there’s no need for power. The easiest way to arrive at your destination with a clean caravan is preventing dust from entering.
 -

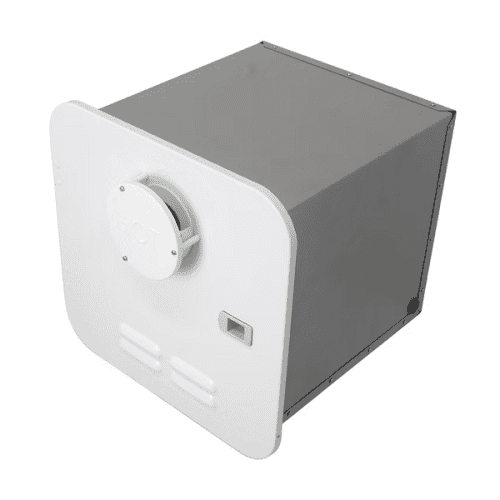
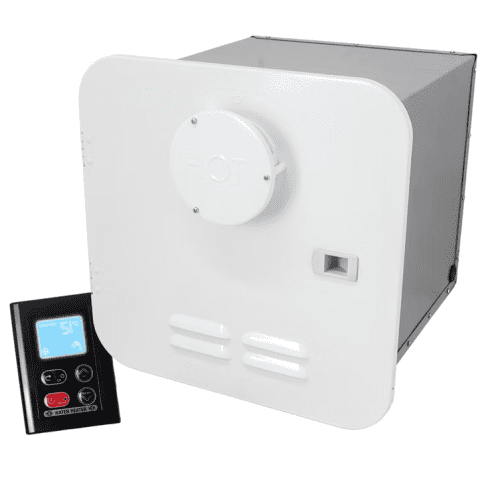
 Experience endless hot water supply with the Girard tankless RV water heater. Easy to install and operate, this lightweight heater fits into any standard water heater opening such as the Suburban HWS. Its onboard microprocessor monitors and regulates incoming and outgoing water temperatures and flow rate for consistent hot water supply. The hinged door and silicone exhaust ring make it user-friendly and easy to maintain. An indoor wall-mounted digital controller allows temperature adjustments from 35 to 51C and features visual diagnostics for troubleshooting. Designed specifically for mobile lifestyles, it consumes around half the LPG of standard 23 litre storage tank water heaters.
Features:
- High performance: Operates silently at 42,000 BTUs on 12V power and less than 3 amps
- Consistent temperature: Microprocessor ensures a steady water flow and maintains set hot water temperature
- Efficient: Consumes less gas than conventional water heaters
- Intelligent control: Digital panel allows temperature setting adjustments and displays error codes for troubleshooting
- Easy installation: Lightweight (9.3 kg), fits into standard tank heater opening, no special plumbing or anodes required
- 2 year warranty.
Specifications
- Model: 5374W
- Brand: Girard Products (A Lippert Brand)
- Door Colour: White
- Temperature Rise: 35 degrees @ 6L/min
- Power: 42,000 BTU/hr (approximately 12.3 kW)
- Fuel: LPG
- Gas Consumption: 45.5Mj/h
- Inlet Pressure: 2.75 kPa
- Power Input: 12VDC < 3 amp
- Water Operating Pressure: 72 PSI Max (500 kPa)
- Min Flow Rate: 3L/min
- Max Temperature: 60C
- Dimensions (WxHxD): 317 x 317 x 393mm
- Cutout Required: 330mm x 330mm
- Gas Connection: Male 3/8 SAE
- Water Connection: Male 1/2 BSP (WaterMark Approved)
- Weight: 9.3kg
- Shipping Weight: 10.15 Kgs.
- Shipping Dimensions: 46 cm x 36 cm x 36 cm.
-

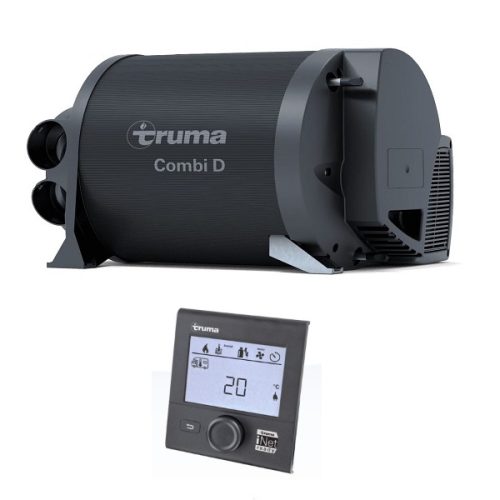
Powerful diesel heater for larger motor homes.
Truma Combi D 6 is a powerful diesel heater that can also be used to heat water. It is especially suitable for larger motor homes. It is supported by a fan so that the motor home heater also works while you’re driving. In summer, you can heat just the water without using the space heater. Combi D 6 is extremely compact and an absolute lightweight compared to other heaters with a similar output. Your Combi heater is controlled simply with a digital control panel. In combination with a Truma air conditioner, you can also select the automatic climate control option on the control panel. This ensures that inside the vehicle you always have the desired temperature.- White Cowl
- The powerful, quiet fan ensures optimum warm air distribution
- Compact and space-saving, which allows various installation options for Combi D 6
- Low energy consumption
- Truma Combi D 6 can also be operated with an empty water tank
- Frost Control drain valve is installed
- Infinitely variable temperature adjustment with the digital CP plus control panel
- Automatic climate control possible in combination with a Truma air conditioner
-
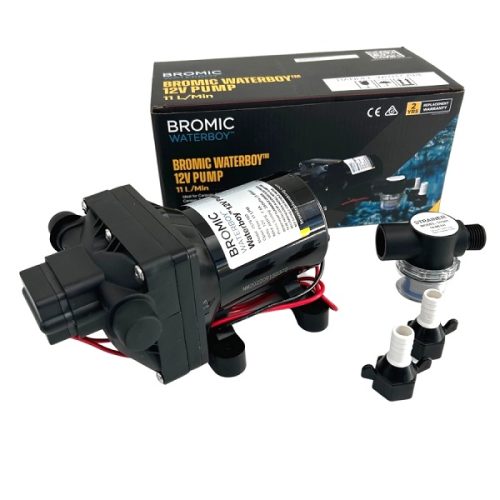
 The Bromic Waterboy 12 volt Diaphragm water pump is capable of distributing an 11 LPM water flow across many caravan, or RV vehicles, as well as various agriculture and recreational uses. Featuring a constant speed pump with a 55 PSI (3.8 BAR) rating with a self priming height of 1.8m. Included is soft noise absorbing mounting feet with an inline filter and two (2) ½” Barb fittings. Comes complete with our 2 year replacement warranty.
Features and Benefits:
- 11 LPM 12V DC water pump
- Self priming (1.8,)
- Low power draw of 7.5 Amp
- Shut off pressure at 55 PSI
- 4 Chamber delivers quiet smooth operation
- Runs dry without damage
- Easy connecting system
- Corrosion resistant valves
- Includes accessories
- Filter / strainer
- 2 x 1/2” Barb hose fittings
Specifications:
- Part Number: 9320688218759
- 2 Years Replacement Warranty
- Rated Voltage (V/50Hz): 12
- Max. Current (A): 7.5
- Water Type: Clean
- Outlet Connection: Male
- Outlet Connection Thread Size: 1/2"
-

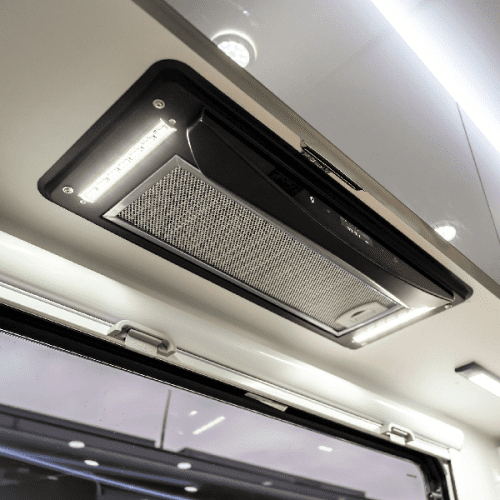
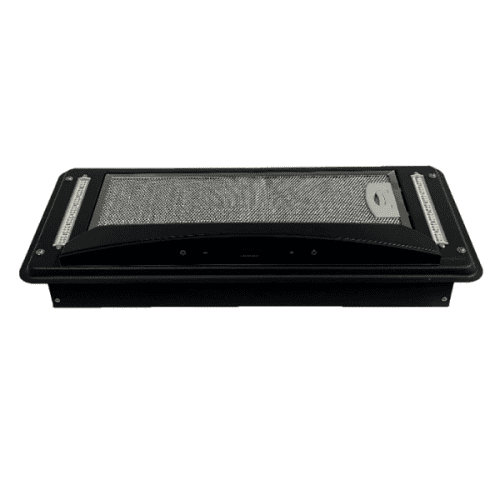
 Remove any unwanted odours and fumes from your kitchen quickly and efficiently. The sleek integrated flush mount rangehood is perfectly suited to the RV's, caravans and motorhomes. Featuring easy-access tempered glass touch control front display, digital display, 3 speed extractor fan, washable filter, twin LED strip lights, stainless steel body, rear air outlet with a sleek black design.
Features:
- 465mm width
- Tempered glass touch control panels
- Digital displays
- Twin LED lights
- Stainless steel body
- 3 speed extractor fans
- Washable filters
- 12-month warranty
- Dimensions (W x H x D): 520 x 115 x 230mm
-
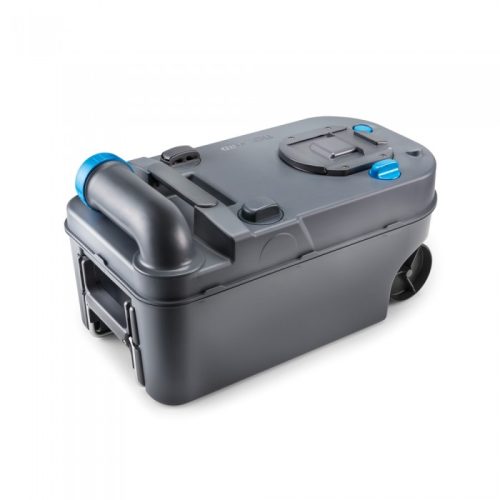
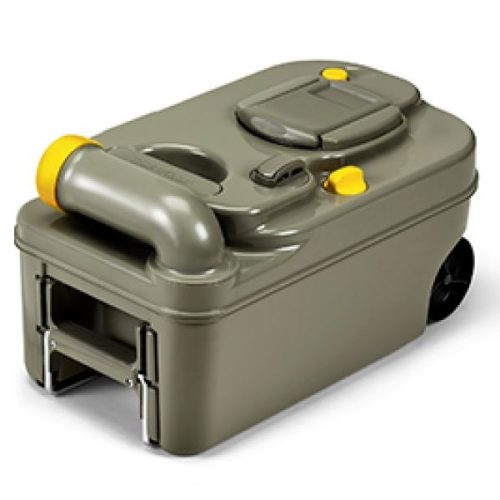
 Upgrade your Thetford C200 CW / C200 CS Cassette Toilet effortlessly with the Thetford SC200 Holding Cassette Waste Tank Grey. No need to replace the entire unit - this waste holding tank offers a convenient solution for a refreshed loo experience. Specifically designed to suit Thetford C200 series cassette toilets, this spare waste holding tank ensures seamless compatibility and easy integration. Whether you need a spare tank for added convenience or as a replacement, the SC200 Holding Cassette Waste Tank Grey is the perfect solution. Enjoy the simplicity of enhancing your toilet's functionality without the hassle of a complete unit replacement. Brand: Thetford Suits Thetford C223 S / C223 CS / C224 CW Cassette Toilets 18L capacity This is the GENUINE original replacement spare part. Beware of aftermarket parts for this product.
 -
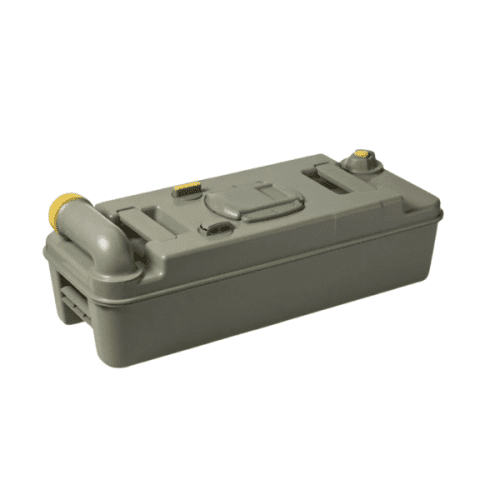
 Designed for convenience and durability, our replacement SC234 tank ensures seamless operation and reliable performance for your Thetford cassette toilet. Specifically tailored for left-hand installations, it's important to confirm compatibility by checking the position of the external access door relative to the toilet seat when seated. With its grey color and left-hand orientation, this holding cassette tank seamlessly integrates into your existing Thetford toilet setup, providing a hassle-free replacement solution. Whether you're upgrading your current tank or addressing a malfunctioning unit, our replacement tank offers the perfect fit and functionality you need. Ensure your Thetford cassette toilet continues to perform at its best with the Thetford SC234 Holding Cassette Tank Left Hand Grey [20063974]. Brand: Thetford This is the GENUINE original replacement spare part. Beware of aftermarket parts for this product.
 -
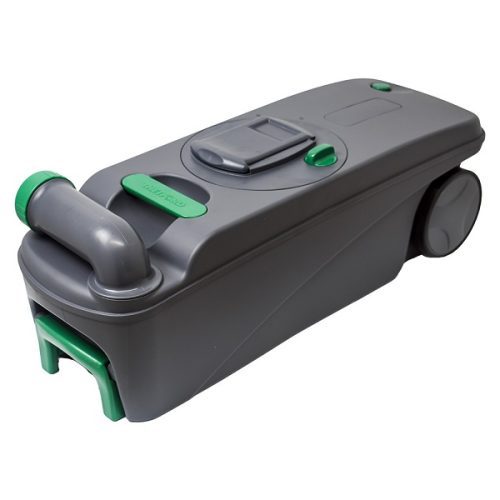
 Introducing the Thetford SC400 Left Hand Waste Holding Cassette Tank (3232606) - the smart and convenient solution for your Thetford C400 Left Hand Cassette Toilet. Revitalize Your Loo without Replacement: Experience the convenience of a new waste holding tank without the need to replace the entire unit. The Thetford SC400 is the perfect spare tank designed specifically for your Thetford C400 Left Hand Cassette Toilet, ensuring seamless compatibility and easy installation. Key Features:
- Tailored for Thetford C400 Left Hand Cassette Toilets: Specifically crafted to perfectly fit and function with your C400 Left Hand model, offering hassle-free replacement and compatibility.
- Spare Waste Holding Tank: Provides a quick and efficient solution for those seeking a spare tank for their C400 toilet, ensuring uninterrupted use and convenience.
-
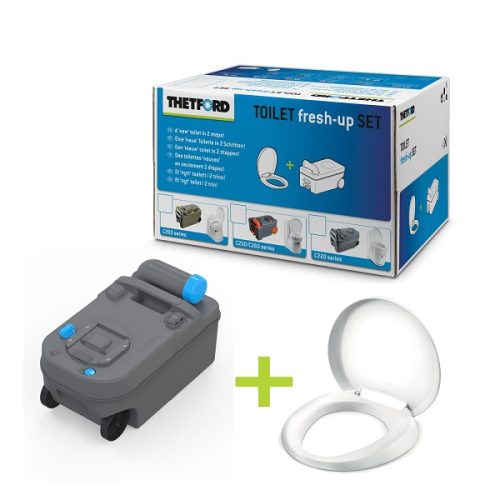
 Thetford Australia can provide a fresh-up set designed specifically for the C220 series of cassette toilets, eliminating the need for a complete replacement if a component becomes worn out. This set includes a refreshed waste holding tank equipped with wheels and a convenient transportation handle for effortless manoeuvrability. The set also comes with a new seat and cover for enhanced comfort and hygiene. With its superior quality and easy installation, the Thetford fresh-up set for C220 cassette toilets is the perfect choice for those seeking practicality and long-lasting durability.
Why Choose a Thetford Fresh-Up Set?
 The set contains completely new and easy to install waste holding tank with wheels & handle and seat & cover
 Superior quality
 Practical in use
 Long durability
Brand: Thetford Suits Thetford C223 S / C223 CS / C224 CW Cassette Toilets This is the GENUINE original replacement spare part. Beware of aftermarket parts for this product.
 -
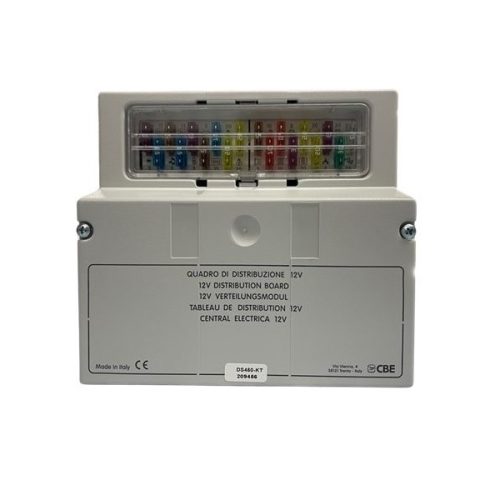
 The CBE Distribution Box 12v DS450-KT is a high-quality power distribution solution, highly valued in Australian-built motorhomes for its reliability and efficiency. This box plays a critical role in managing power distribution effectively, equipped with fuses for enhanced safety and optimal performance. Its robust design and compatibility with a variety of electrical setups make it an indispensable choice for any motorhome owner seeking to easily and effectively manage and organize their power systems.Manufacturer number: 209456

