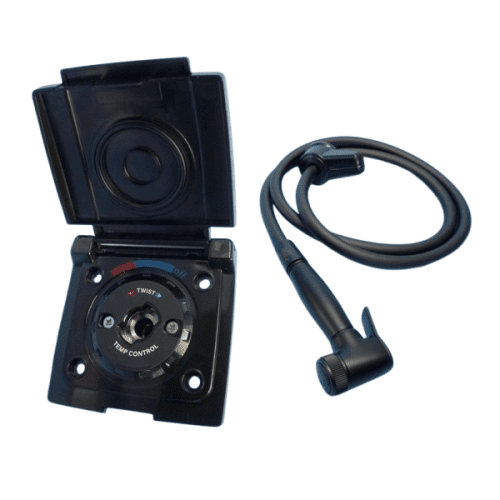
This Compact External Shower Point is an ideal addition to your camper or RV for showers, rinsing off sand after beach visit, hosing pets etc. It uses the unit's existing hot and cold water supplies. Inserting the shower assembly, locks it in place and turns on the water. Temperature adjustment by turning the assembly.
The External shower point comes complete with a Shower head assembly (shower fitting, shower hose and swivel head).
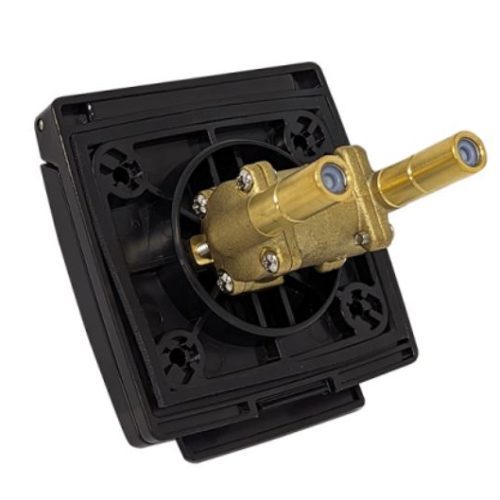
2 brass shafts accept 12mm John Guest push-on fittings.
1 year warranty.
Model: 800-06007
Shipping Weight: 1.02 Kgs.
Shipping Dimensions: 12 cm x 25 cm x 20 cm.