-
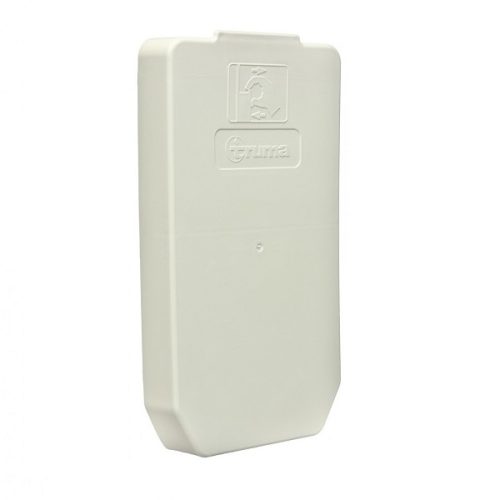
 Truma Cowl Cover - 70121.01 This is a dust/water cover that fits over the external cowl grill. Common to go missing, grab a replacement or a spare just in case! Dimensions: 480mm x 330mm
 -
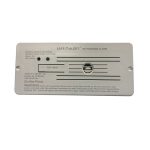
This very popular vent cover eliminates smoke, odours, heat build-up, mildew and mustiness. Lets in fresh air, but not rain. Fits most standard roof vent openings 355-400mm. Installs in about 10 minutes. High impact plastic with UV inhibitors lets light into the interior of the Campervan or Motorhome. Zero leak mounting system eliminates the need for drilling any holes in your RV roof. Includes mounting hardware. All hardware provided with Zero-Leak Mounting System is made of stainless steel or aluminium for durability and long life. Fitting Instructions:
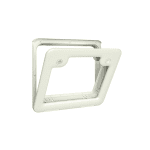
- Place the Vent Cover over the roof vent with the louvre area facing the rear of the vehicle. After verifying that the Vent Cover is centred over the roof vent, trace on your roof (with a pencil) the location of the slots in the Vent Cover's mounting flange.
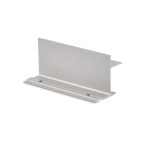
- Position a mounting bracket on your roof so that the slot in the bracket intersects one of the slot locations traced on the roof. For maximum strength place the mounting brackets as close as possible to the outside corner of your existing roof vent frame.
- Mark the location of the screw hole in the bracket onto your roof vent frame. Drill through the roof vent frame using a 3/16 Inch dia. drill bit. Place one of the carriage bolts upward through the slot in the bracket and fasten the bracket to the roof vent wall using the small bolt provided. The small washer, lock washer, and hex nut should be placed on the inside of the roof vent frame wall. Install two brackets on each side of your roof vent as shown in the drawing.
- Place the Vent Cover on the four upward pointing carriage bolts and fasten using the large washers and hex nuts provided. You may have to push the head of the carriage bolt up into the bracket slot to prevent the carriage bolt from turning during tightening of the hex nuts.
- 1 year warranty.
- Model: 650-04020, 50401150, 008639
- Brand: Maxxair
- Original Model: 31-1919
- Barcode: 752055933061
- Total base coverage 470mm x 470mm
- Approx height 300mm
- Not suitable for high powered fans
Can’t find what you’re looking for? Click here to let us know what you need.
shipping-new
same day shipping
We aim to be the best!
Competitive Pricing
30-day return policy
Easy Returns
Can’t find what you’re looking for? Click here to let us know what you need.
shipping-new
same day shipping
We aim to be the best!
Competitive Pricing
30-day return policy
Easy Returns
shipping-new
same day shipping
We aim to be the best!
Competitive Pricing
30-day return policy
Easy Returns