DIY Motorhome & Caravan Repairs with Cost Breakdowns
DIY caravan repairs can save you a lot of money while keeping your van in top shape. Although you might not be able to fix big electrical problems or major damage, many common issues—like a flat tyre, a faulty taillight, or a minor water leak—can be fixed at home with the right tools and a bit of know-how. Tackling these repairs yourself not only cuts costs but also gives you confidence on the road, knowing you can handle minor problems without calling in a professional.
Below, we’ll walk through some of the most common caravan DIY repairs, complete with step-by-step instructions and cost breakdowns.
Changing a Flat Tyre
Nothing puts a stop to a trip quite like a flat tyre, but the good news is that changing one is a straightforward job. If you’ve ever changed a car tyre, the process is much the same. Even if you haven’t, this is one of the most useful DIY skills any caravan owner can learn. Here’s how to do it.
What You’ll Need
- Spare tyre ($150–$300)
- Wheel brace ($30–$50)
- Caravan jack ($50–$150)
- Chocks ($20–$40)
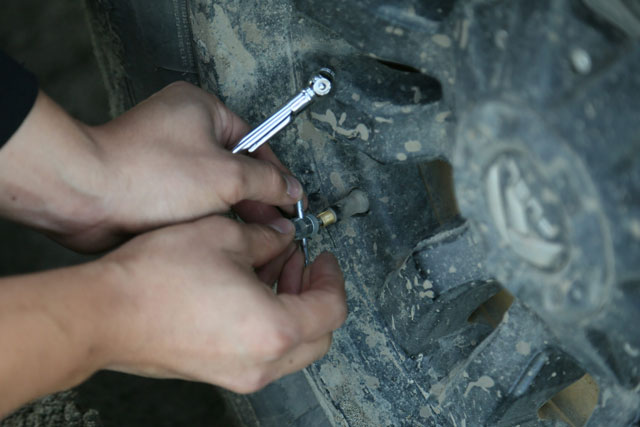
Steps to Change a Flat Tyre
- Park safely: Pull over on level ground, apply the handbrake, and chock the opposite wheel from the one you’re going to change.
- Loosen the wheel nuts: Use a wheel brace to loosen (but not remove) the nuts on the flat tyre.
- Jack up the caravan: Position the jack under the recommended jacking point and lift the caravan until the tyre is off the ground.
- Remove the wheel nuts and tyre: Take off the nuts completely and remove the flat tyre.
- Fit the spare: Align the spare tyre with the wheel hub and secure it with the nuts.
- Lower the caravan: Slowly bring the caravan back down and fully tighten the wheel nuts.
- Check the tyre pressure: Make sure the spare is inflated to the correct PSI before hitting the road.
DIY Cost Estimate: $250–$540 for the initial cost of the tools and spare tyre.
Workshop Cost: $50–$100 in labour per tyre change, plus the cost of the tyre itself.
Replacing a Blown Fuse
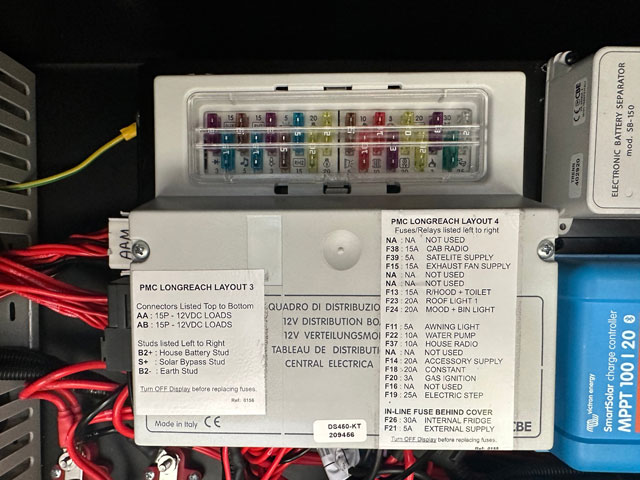
Caravan electrical systems aren’t complicated, but when something stops working, a blown fuse is often the cause. If a light, fridge, or power outlet suddenly goes dead, checking and replacing the fuse is an easy fix. Here’s what you need to do.
What You’ll Need
- Replacement fuses ($5–$15 for a pack)
- Fuse puller or needle-nose pliers ($10–$20)
Steps to Replace a Blown Fuse:
- Turn off power: To be safe, disconnect the caravan from mains power.
- Locate the fuse box: Usually found in a cupboard or under the bed.
- Identify the blown fuse: Look for a broken filament inside a fuse.
- Remove the old fuse: Use a fuse puller or pliers to pull it out.
- Insert the new fuse: Match the correct amp rating and push it into place.
- Test the appliance: Turn the power back on and check that everything works.
DIY Cost Estimate: $15–$35
Workshop Cost: $50–$100
Fixing a Minor Water Leak
A small water leak in your caravan might seem minor at first, but left unchecked, it can lead to costly damage. Whether it’s a slow drip under the sink or a trickle from a shower fitting, fixing it quickly will save you headaches and a lot of money down the track. Most small leaks can be sealed up with basic tools in under an hour.
What You’ll Need
- Silicone sealant ($10–$30)
- Adjustable spanner ($20–$40)
- Teflon tape ($5–$10)
Steps to Fix a Leak:
- Identify the leak: Check under the sink, around taps, or at pipe connections to find where the leak is coming from/
- Turn off the water supply: Turn off the water supply to prevent any mess while you’re working.
- Tighten fittings: Use an adjustable spanner to secure loose connections.
- Apply Teflon tape: Wrap around thread connections to create a better seal.
- Use silicone sealant: If the leak persists, apply sealant to any small cracks or gaps.
- Test for leaks: Turn the water back on and check for any remaining drips.
DIY Cost Estimate: $35–$80
Plumber Cost: $150–$250
Replacing a Tail Light
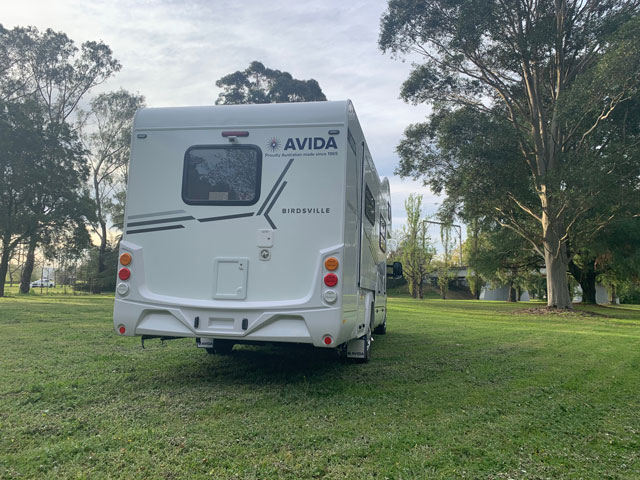
Although you’ll likely be the last person to notice a broken tail light, that doesn’t stop it from being a major safety issue, and one that can get you fined. Fortunately, replacing a broken tail light is one of the quickest and easiest caravan DIY repairs you can do. Here’s how.
What You’ll Need
- Replacement taillight ($30–$80)
- Screwdriver ($10–$20)
- Socket spanner (if necessary) ($20–$40)
Steps to Replace a Tail Light:
- Turn off the power: Disconnect the battery or power source to avoid shocks.
- Remove the old tail light: Unscrew the mounting screws and gently pull the tail light out.
- Disconnect the wiring: Carefully unplug the old light’s wiring harness.
- Install the new tail light: Plug in the wiring and secure the new light in place.
- Test the light: Turn on the lights to ensure everything is working properly.
DIY Cost Estimate: $60–$140
Workshop Cost: $100–$200
Are DIY Motorhome & Caravan Repairs Are Worth It?
Some caravan repairs are best left to the professionals, but these common fixes are well within reach for most owners. Not only will you save money, but you’ll also gain the confidence to handle minor problems while you’re on the road. So before you set off, make sure you’ve got a decent toolkit, some duct tape, and spare bulbs and fuses. Most importantly, don’t be afraid to give something a go!
If you’re keen to learn more, explore our range of caravan and RV parts and accessories today. A little DIY can go a long way in keeping your home-on-wheels running smoothly!

